Changing Electric Kiln Elements (Rohde Ecotop 43L)
When you have an electric kiln it's important to have a spare set of elements to hand because you never quite know when they’re going to break. You can, of course, take some steps (listed below) to reduce the wear and tear to reduce the likelihood of needing to change the elements on your electric kiln, but they will go at some point. This is especially the case when, like us, you are firing your kiln constantly.
Best ways to reduce kiln element wear:
Always fire your elements in, with no work, when you first get your kiln/install new elements
Do a ‘blank firing’ that is one without any work in the kiln, about once every 10 loads.
Don’t put wet greenware in the kiln
Don’t put wet glazed work in the kiln
Reduce the number of corrosive elements in your glazes
Don’t open the kiln when it’s hot
So, when ours went recently, we decided to document the process of changing the elements on our Rohde Ecotop 43L to show you how easy it is. Don’t be afraid! This was the first time we’ve had to do it and the whole process was super easy. Just take a look at the video below where I take you through the steps!
How do I know if my kiln element needs changing?
You don’t have to wait until your kiln gives you an error message to change the electric elements, you will normally see a few warning signs before they break. One of the symptoms is that your kiln starts taking a lot longer to fire. You might notice this as your glazes start to go a bit strange, or the kiln takes hours more than normal to finish. The glazes can change because as the kiln takes longer to heat up to temperature, the heat work exerted onto your pots is higher than normal, causing defects. If you regularly use cones in your firings, you should be able to tell that something strange is going on!
Buying new kiln elements
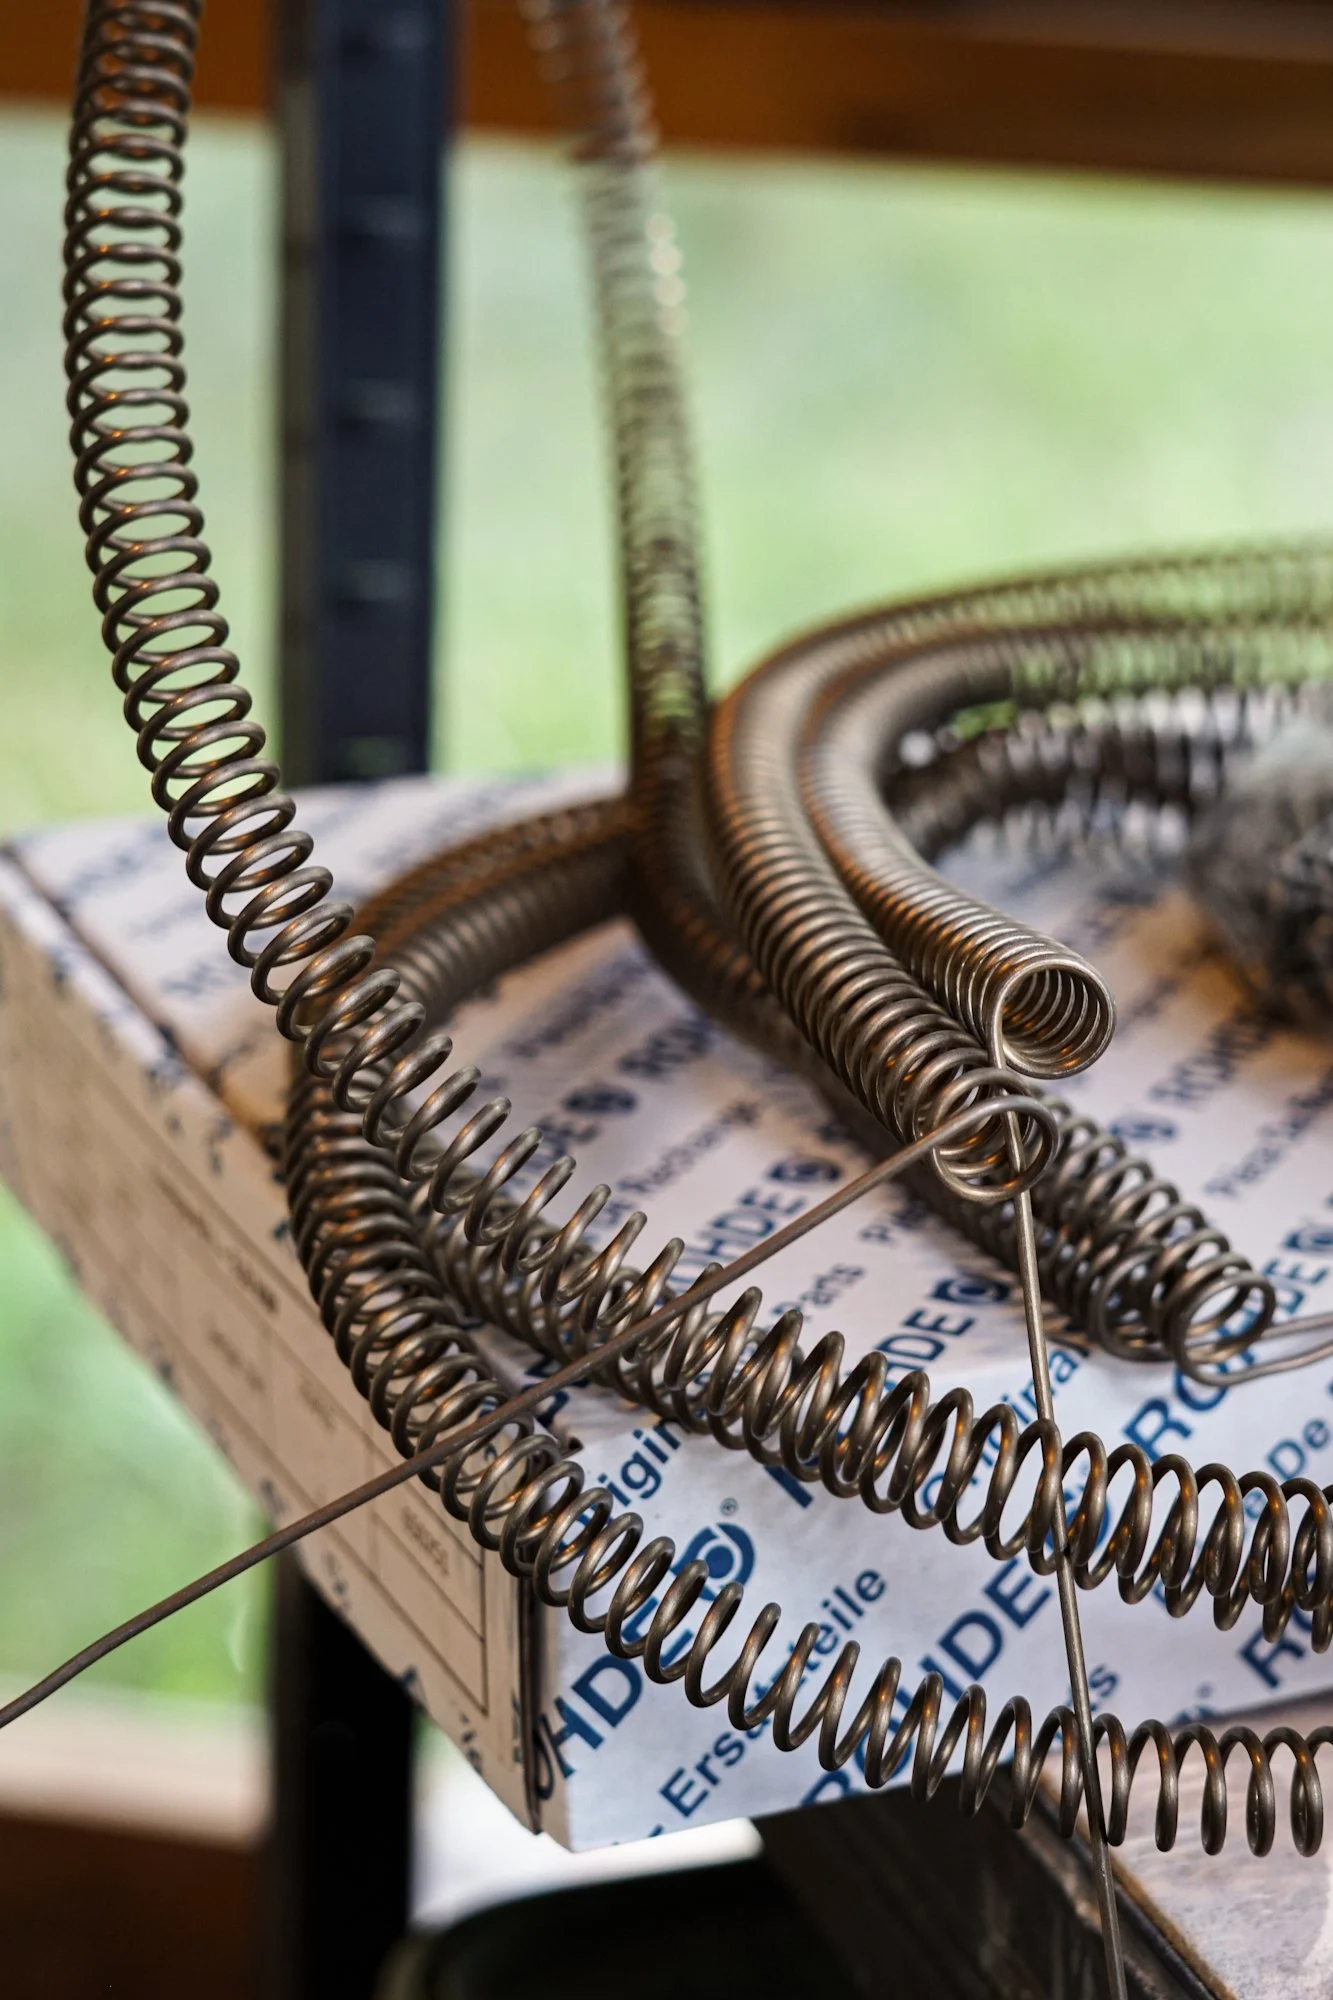
So, your kiln elements have broken, or are close to breaking, so it’s time to give them a change! Firstly, make sure you have a new set to hand. You should be able to find some easily enough, just check with your kiln supplier or the manufacturer and make sure you get the right size!
Just a side note; although the instructions I’m giving below are for a Rohde Ecotop 43L, the basic steps should be correct for most, if not all electric kilns. If in doubt, consult your manual!
Removing the old element
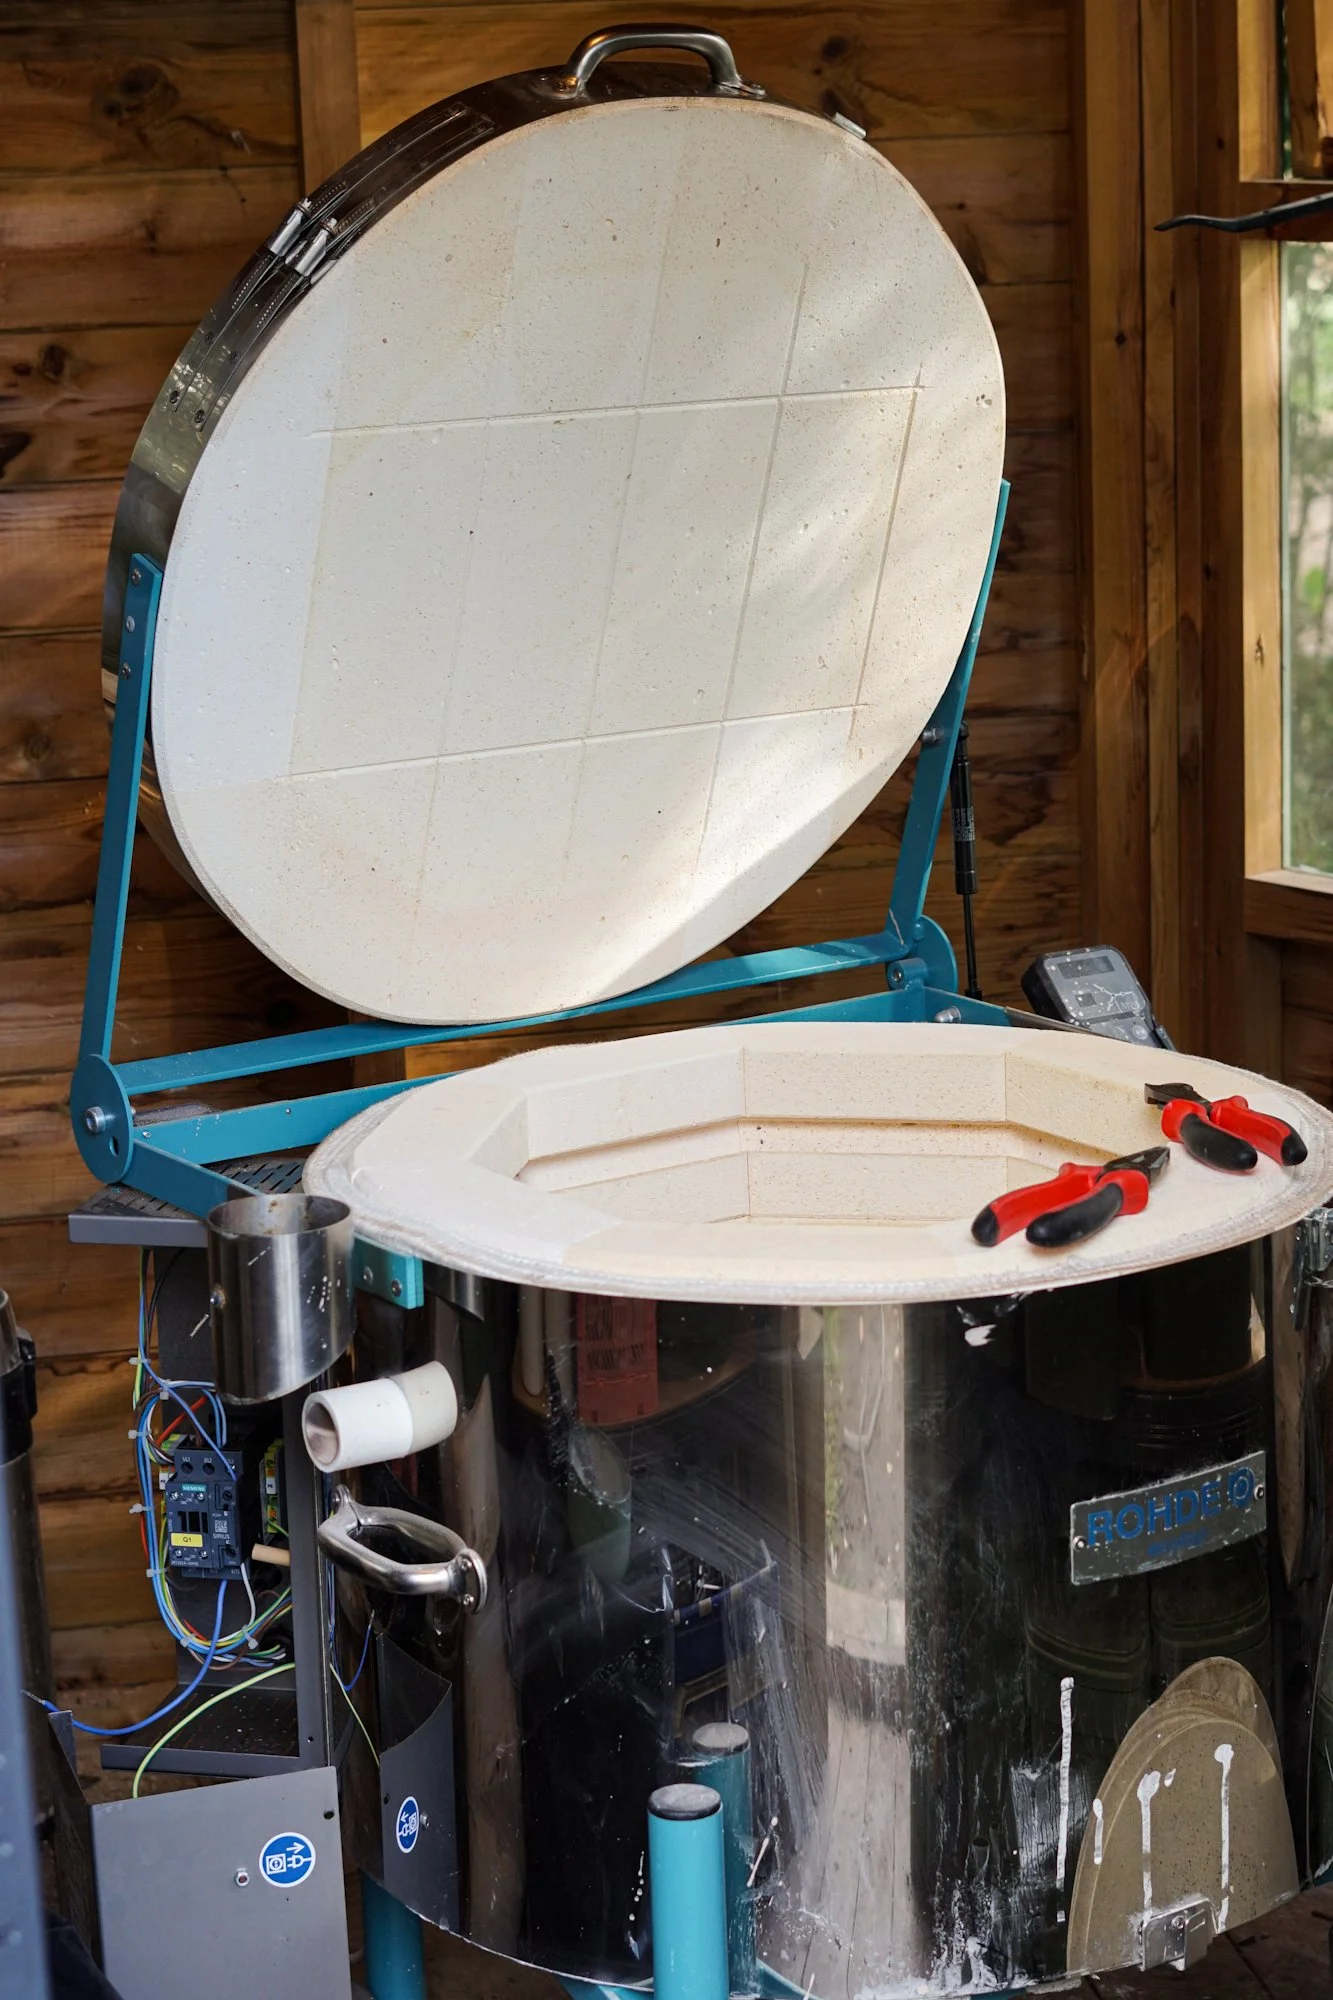
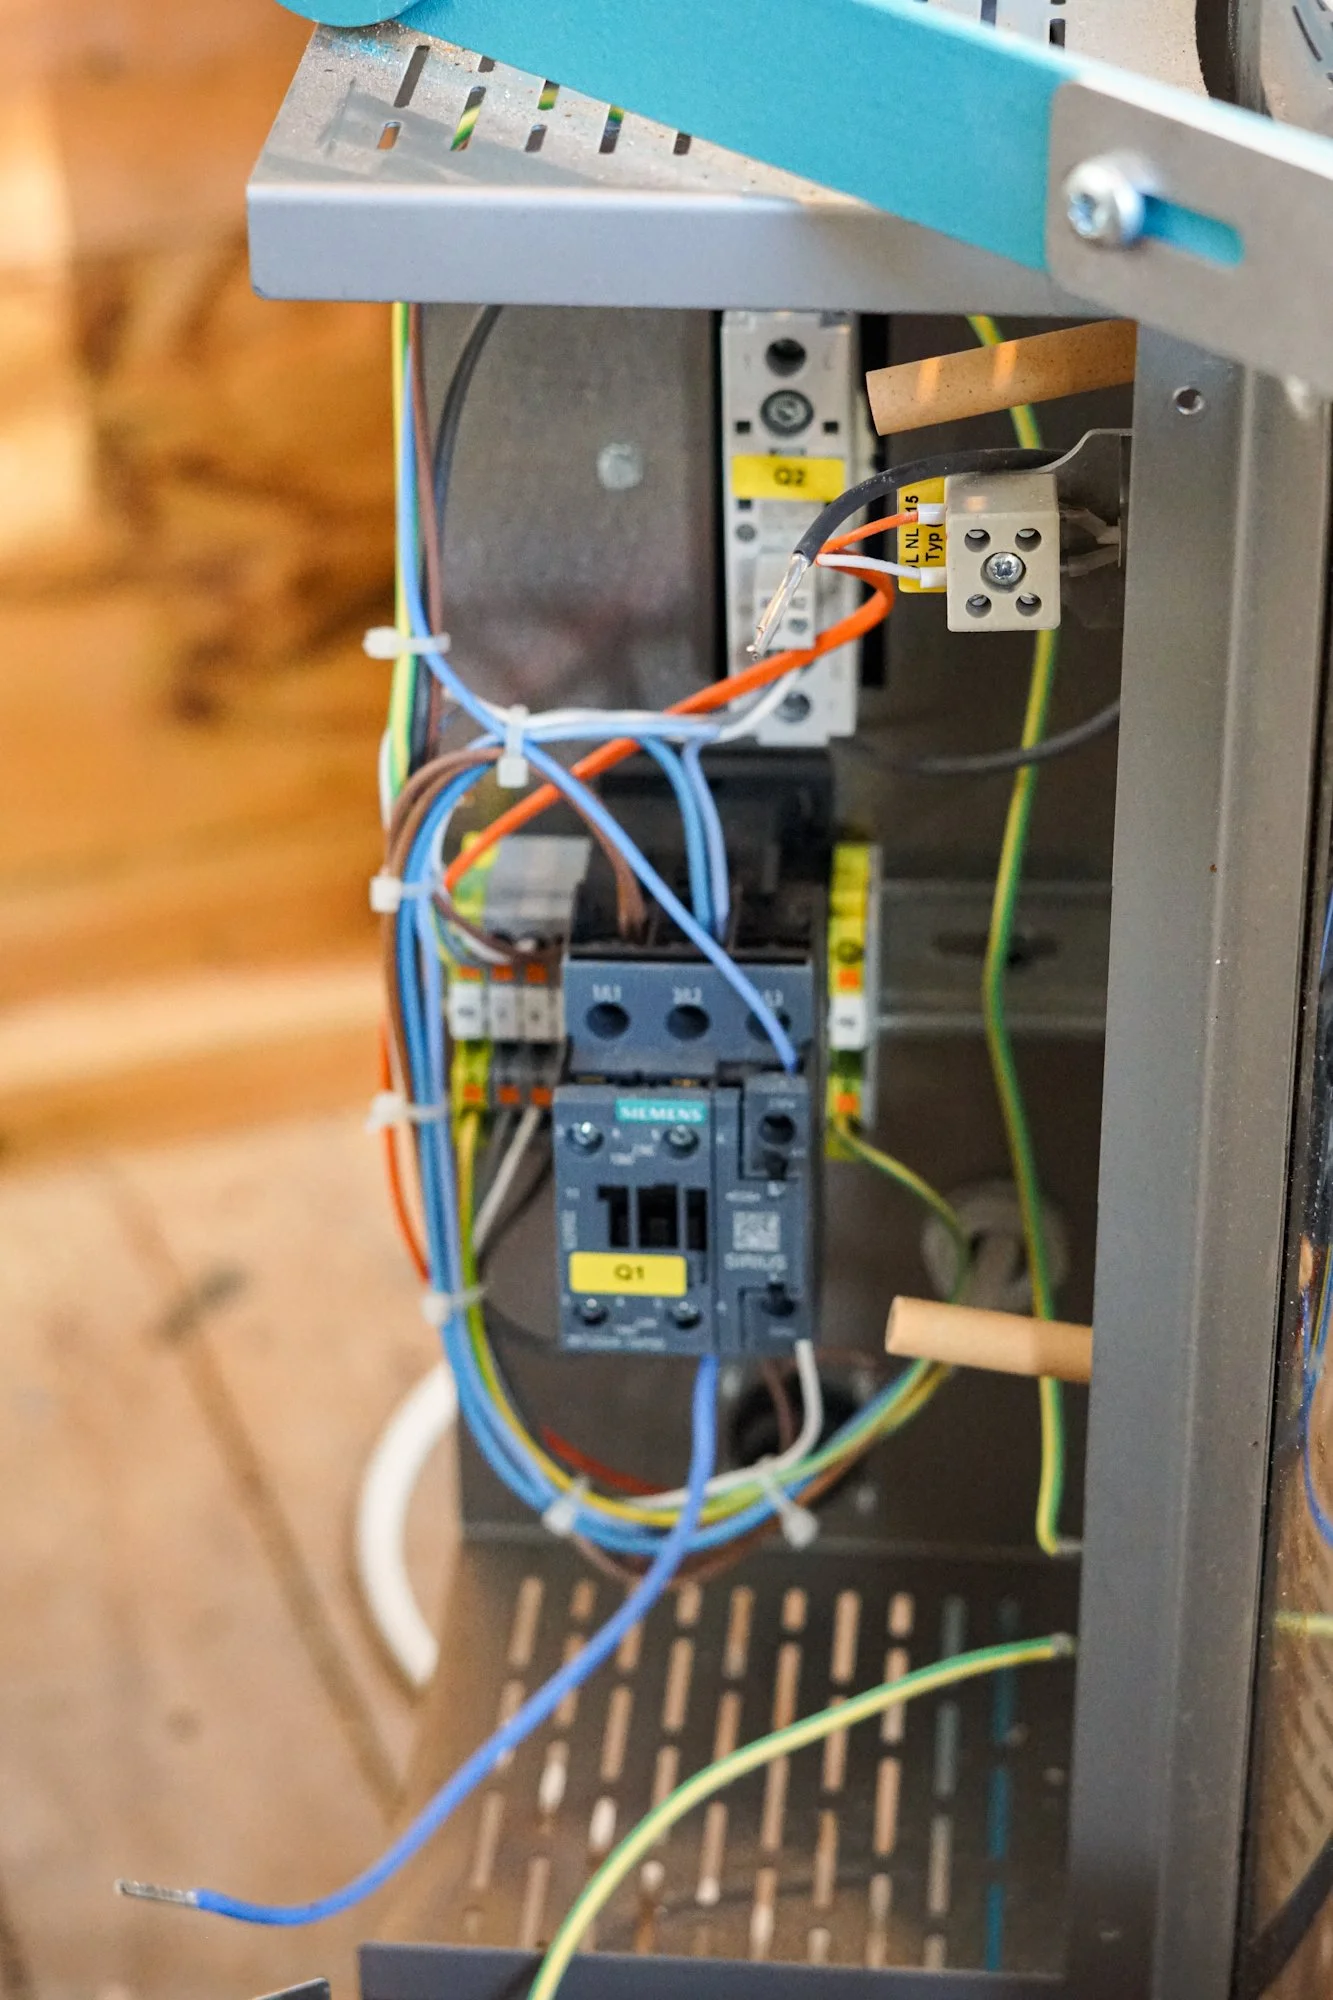
Firstly, we have to get rid of the old elements from the kiln. The first step is to disconnect the elements from the electronics in the control box. To do this, undo the screws fastening the outer cover of the box in place and carefully remove the cover, being careful not to damage the earth wire attached to it. From there you’ll be able to see the elements poking from the body of the kiln into the box. Unscrew the wires and each of the element from the two connection boxes and make a note of which wire goes where! If you’re unsure, just take a photo for later.
With the kiln element now detached, it’s time to remove it. Use a pair of pliers to straighten out the sections of element poking into the control box. The straighter you can make it, the easier it will be to pull out. It goes without saying, but do not worry if you break the element, you’re throwing it away anyway, it doesn’t matter. Once that’s done, move to the interior of the kiln.
Now it’s time to pull out the old element. Using your pliers, gently pull the element out from the hole leading to the control box. You need to be careful not to damage the kiln bricks, as they’re very soft, but also need to apply firm pressure to make any progress. Just go steadily and you’ll be fine. The element is pinned at regular intervals all the way around the kiln, so you’ll have to use your pliers to pull those out too. Simply start at one end and go around until you have the whole element free. Once that’s done, just pull out the other end of the element from the control box and you’re done!
Installing your new kiln element
Now for the easy part, you simply do what you just did, but in reverse! You might find that the new element is slightly too long or short for the grooves in your kiln. If this is the case, just gently squash or stretch the element to fit, it won’t be brittle until after its first firing so there’s no need to worry about it snapping.
Poke one end of the element through into the control box and pin it in place using the new pins provided with the element. You can either use the holes left behind by the old pins or just use a pair of pliers to push the new pins into the kiln brick. Bend over the section of the element protruding into the control box ready for attachment to the connection box and wiring.
Once you have the first bit in place, the rest is pretty self-explanatory. Go around the kiln pushing the element into place, pinning as you go. I found it easiest to squash the element into the groove, section by section, before pinning to ensure I got the fit right. When you reach the end of the element, simply poke it into the control box, pin it in place and bend over the section in the control box.
With the element in place, the only thing left to do is hook it back up to the electronics. Again, this is a simple process. Just take the new connection boxes provided with the element and screw the element together with the (correct!) wire. Ensure these are tight, as loose connections can cause increased wear on the element. Put the cover of the control box back on and you’re done!
Firing in kiln elements
With new elements, it’s important to “fire them in” to get them ready for the environment created when your ceramics and glazes are fired. Your new kiln element will come with specific program instructions, but it will most likely be along the lines: ramp 100°c per hour to 1050°c, hold for 90 minutes, and allow to cool. This process builds up a protective oxidation coating over the element that protects it from other chemicals which are given off from your pottery.
I hope you found all of this helpful and if you were unsure beforehand, convinced you that it’s really not a hard process to change your kiln elements. Please come and find us on Instagram @blankearth. We’ll be posting more pottery tutorial videos on our YouTube channel Blank Earth Ceramics. The shop is open, and kurinuki work gets updated regularly throughout the year so please sign up to the mailing list if you want to be notified when the next shop opening is!
Happy Pottering!


